sorry everyone for not updating but im on my holidays in sunny Morocco and will be back on monday night so if im feeling good i shall put a post up on tuesday :)
Friday, 10 June 2011

Tuesday, 31 May 2011
Collective Haul!
Woo my first haul post! These is just some items ive purchased over the last month or so and i will do a mini review on each item :)
First up is elf (or eyes lips face). They were had 20% off voucher code on their facebook page so i caved and bought some stuff.
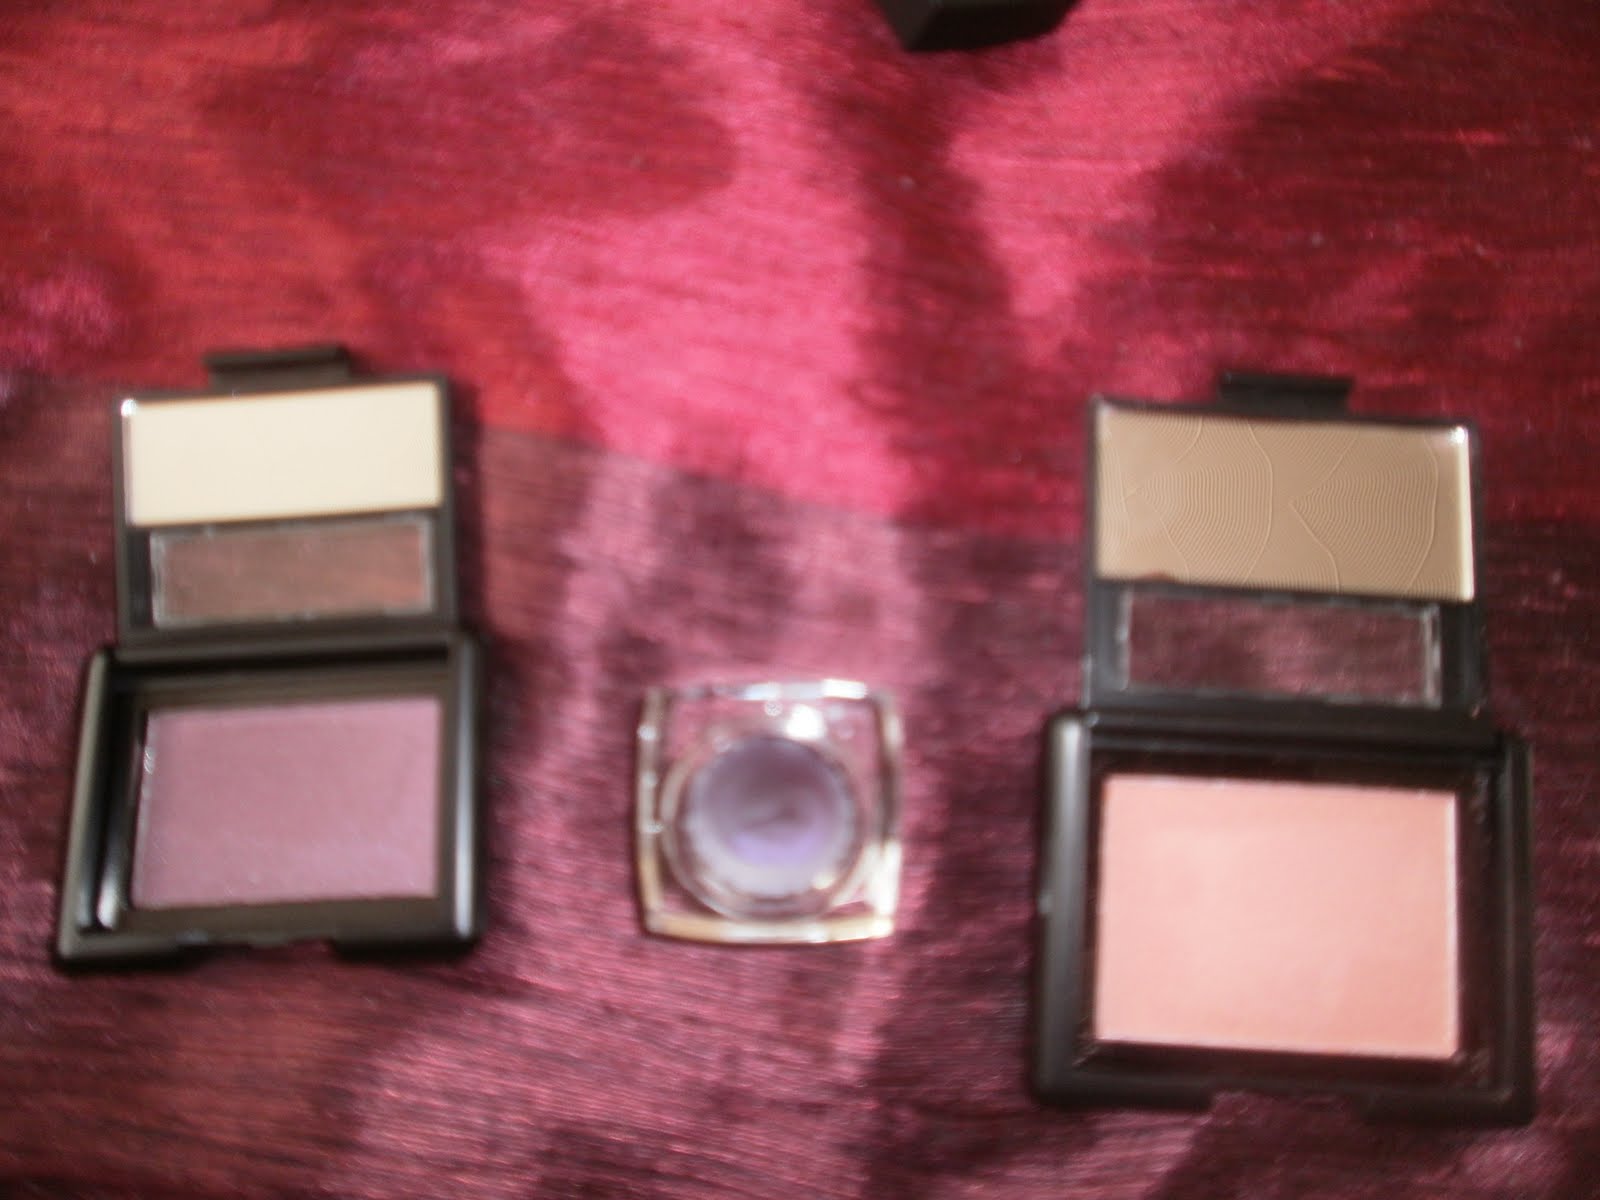
L-R - Single eyeshadow in Amethyst, Cream eyeliner in Purple, Blush in Candid Coral

Swatches
Also I got some brushes from the normal and studio line from elf.

L-R - Blending Brush, Foundation Brush, Studio Stippling Brish and Studio Angled eyeliner Brush
What can i say, im in LOVE with my elf order. What impressed me most is that the eyeliner and eyeshadow are so pigmented and they are only £3.50 each. However the blush is quite sheer so you might need to go slightly heavy handed with it. I actually think the blush is a slight dupe for Orgasm blush by Nars.
The brushes are fantastic! The foundation and blending brush are only £1.50 each and the stippling brush and eyeliner brush are £3.50 each and are from the studio range at elf. The blending brush is perfect for people with wider eyes as it allows you to blend and add colour to the crease with ease and perfection. The stippling brush has many uses; blush, highlight, bronzer, foundation and powder. It helps you blend like a dream! The angled eyeliner brush, omg! I have a mac and Illamasqua eyeliner brush and this one i better than both put together. It helps you get close to the lashline without product getting everywhere and the bristles haven't strayed so far!
Check out elf at www.eyeslipsface.co.uk (they currently have a 20% off voucher code)
Next on the agenda is a website called Cosmetic Fairy. I came across this whilst looking for some American makeup and i was lost for words. They sell discounted high end and low end products. I purchased some mac, Maybelline and Revlon products.

Top - Twinks
Bottom - Post Haste


Revlon Creme Eyeshadow quad in 705 Twilight


Maybelline Colossal Volume mascara in Diamonds
Unfortunatly Post Haste has been discontinued on the Mac website but i only found this out after I got the shadow. Its matte (woo!) and exremely bright and a gorgeous colour. Twinks is a beautful satin eyeshadow and is a deep browny bronzey colour. Love it! I also got Nymphette lipglass by Mac but it will be in the pic of lip products.
The Revlon quad was disappointing! It doesn't stay on the lid and creases like mad. That is all i have to say.
The Maybelline Colossal Volume mascara is brilliant, really dont know why i didnt get it when it came out. I got the limited edition one in Diamonds.
Check them out at www.cosmeticfairy.co.uk
Finally we have some products from M&S and Superdrug. Firstly i was recommended to try M&S make up. I had seen the stand in M&S but never got a chance to look at it properly. Now im glad that I did. The prices are brilliant and the quality of the products are great. i also went to Superdrug to but some makeup recommended by Gossmakeupartist. I got a lipgloss by Sleek called Purity and some eyeshadows by MUA.


Left to Right
M&S Cheek and lip tint in Coral
Mac Nymphette lipglass
M&S lipstick in Red
Sleep lipgloss in Purity

MUA Eyeshadows in Shade 10,12 and 14

Swatches
OMG I cannot believe the MUA eyshadows are only £1 each. The quality of the shadows are amazing and they are so pigmented. If I had enough money on me I would have bought every shadow there. Shade 12 is my fave. It looks kinda greyish in the compact but it comes out a different colour! The Sleek lipgloss is interesting. It is double ended so one end has the coloured lipgloss and the other side has a clear lipgloss. The coloured one dries quite matte but when you put the clear gloss on we're all good. Im sure my lips looked bigger when i put it on too.
So thats the end of my collective haul! Let me know if you have any requests or want me to do more of these kinds of posts. Also if your on facbook like my page Kad Beauty
xxxx
Saturday, 21 May 2011
Metallic Blue eye
Requested by Nazy - sorry for the delay
Simple blue metallic eye, done without looking too gothic.


Products Used
Face
NYC Bronzer in Terracotta
Eyes
Mac e/s in Nehru and Carbon
Ruby & Millie blue eyeshadow palette - last colour
Mac fluidline in Waveline
Avon SuperShock Mascara
No.17 Eyeshadow in Ivory Coast
Lips
Mac lipglass in Lust
Step 1: Apply a gel eyeliner or kohl pencil in either blue or black all over the lid messily and blend out to just above the crease.
Step 2: Pat a dark blue eyeshadow over the moving part of the lid bending it out as you get to the crease.
Step 3: Using a dome shaped blending brush, blend a metallic blue eyeshadow into the crease and bring it down to the inner corner.
Step 4: Use a skin coloured eyeshadow as a highlight and to blend out any harsh lines.
Step 5: Apply mascara, bronzer and a nude lipstick or lipgloss and done!
Monday, 16 May 2011
Makeup 101: Eyeliner - top and bottom lashline
Hello! This will be a new series featuring on my blog amogst tutorials. Basically it is a mini-series showing how to do basic makeup techniques e.g. blush application to help those who struggle or fear they are not doing it right.
*If you have a request for me to do anything in this series e-mail me at sabz132@gmail.com
This look is perfect for a night out paired with a dramatic smokey eye. It is best for people with larger eyelids who are wanting to make them appear slightly smaller.

To start off, line the upper lashline with a black eyeliner, making a medium sized wing at the outer corner and extending the line in the inner corner ever so slightly.

Using the same black eyeliner, start to line the lower lashline, connecting the outer corner to the outer wing. Don't go all the way into the inner corner yet.

To join the inner corners together, take the tip of the inner corner on the upper lash, extend it further then join it to the lower lashline creating a triangle. Fill in the triangle with your eyeliner and voila!
Hope this helped people who were wondering how to do this but were struggling. The only way you wil get this right is by taking your time and you will get better with practice :)
Products Used
Maybelline 24 Hour gel eyeliner
Elf Studio Angled Eyeliner brush
Thursday, 5 May 2011
Goldmine
Gold look requested by Nazy


Face
No 7 Intelligent Colour foundation
Mac blush in Pinch Me
Eyes
Mac Woodwinked e/s
Mac Amber Lights e/s
Mac Carbon e/s
Mac Fluidline in Blacktrack
Collection 2000 Big Fake Lash mascara
Lips
Barry M Lipgloss in Coral
Step 1: Apply foundation and prime the eyelids with a primer
Step 2: Using a flat shader brush, pat the Woodwinked eyeshadow all over the lid upto the crease.
Step 3: With a fluffy brush place the Amber Lights eyeshadow in the crease and blend out.
Step 4: Put the Carbon eyeshadow in the outer v of the eye and blend into the Woodwinked and the Amber Lights eyeshadows.
Step 5: Highlight the brow, apply liner, mascara, blush and lipgloss and done!
Wednesday, 27 April 2011
Midnight Blue Smokey eye


Face
Mac Studio Fix fluid in NC40
Mac Studio Finish concealer in NC40
Mac Blush in Springsheen
Eyes
Rimmel Khol pencil in Grey
No.17 eyeshadow in Thunderbolt
Rimmel Eyeshadow in Jet Black
No.17 eyeshadow in Regal
Maybelline gel eyeliner in Black
Maybelline One on One mascara
Avon SuperShock gel eyeliner pencil
Lips
Mac Lipglass in Lust
Step 1: Put a grey eyeliner pencil all over the eyelid and blend out. Apply a grey eyeshadow over the pencil upto the socket.
Step 2: Using a fluffy brush,place a dark blue eyeshadow in the crease and blend well. Brush away any fallout.
Step 3: Put a matte black eyeshadow in the outer 'v' of the lid and blend into the blue. Use an eyeshadow colour close to your skin tone to blend out any harsh lines.
Step 4: Use a gel/liquid/pencil liner to line the top lashine and wing it out slightly. Use a black khol pencil and fill in your waterline and tightline. Apply mascara.
Step 5: Apply your foundation, concealer blush and lipgloss and your done!
Saturday, 16 April 2011
Review: MAC Chatterbox Lipstick
*If you want a review done just let me know on either my facebook or comment on a blog post, if you have my number text or bbm me :D
This is a review for a MAC lipstick. I had Chatterbox for a while and i love it! Its a nice baby pink with red undertones that isnt too showy but not too dull and of a creamy consistensy. Although it looks like a darker pink in the tube it isnt. It is an amplified finished which means it is extremely pigmented so you might need a light hand with this. Chatterbox is a gorgeous summery colour and can be worn in a variety of ways; either straight from the tube, applied with a lipbrush or lightly applied with a pink gloss over it. All in all I highly recommend this colour if your daring enough to wear it! It lookes great on people with fair to medium skin tones.
Pros
- Very pigmented
- Smells amazing!
- Great lasting power
- Lovely colour
Cons
- Too thick if a lot is applied
- Makes the lines of your lips quite visible
- Quite drying to your lips:(
- Makes your teeth look yellow


Subscribe to:
Posts (Atom)